SCIMming into the Future: Provisioning On-Premises Apps with Azure AD Identity Governance - Part 2
Continuing from the first part, in this is the part of the blog where we will install the test SCIM application.
Follow this guide to publish the sample web app from Microsoft in Azure App Services.
Once you publish the app, you will need to make changes to the appsettings. Navigate to the application in Azure App Services > Configuration, click on New application setting to add the Token__TokenIssuer setting with the value “https://sts.windows.net/tenant_id/”. (replace tenant_id by your Azure AD tenant id).
We are egoing to test the application with Azure AD, ASPNETCORE_ENVIRONMENT value to ‘Development’.
In the app setting configuration file , you need to add the following settings.
[
  {
    "name": "ASPNETCORE_ENVIRONMENT",
    "value": "Development",
    "slotSetting": false
  },
  {
    "name": "Token__TokenIssuer",
    "value": "https://sts.windows.net/a015f467-c5c4-****-****-************/",
    "slotSetting": false
  },
  {
    "name": "WEBSITE_NODE_DEFAULT_VERSION",
    "value": "6.9.1",
    "slotSetting": false
  }
]
Install AZURE AD Provisioning Agent
Next, you will have to install the Azure AD Provisioning agent within your on-prem network in a server name SCIMVM. Your on-prem SCIM application , should be accessible from the provisioning Agent.
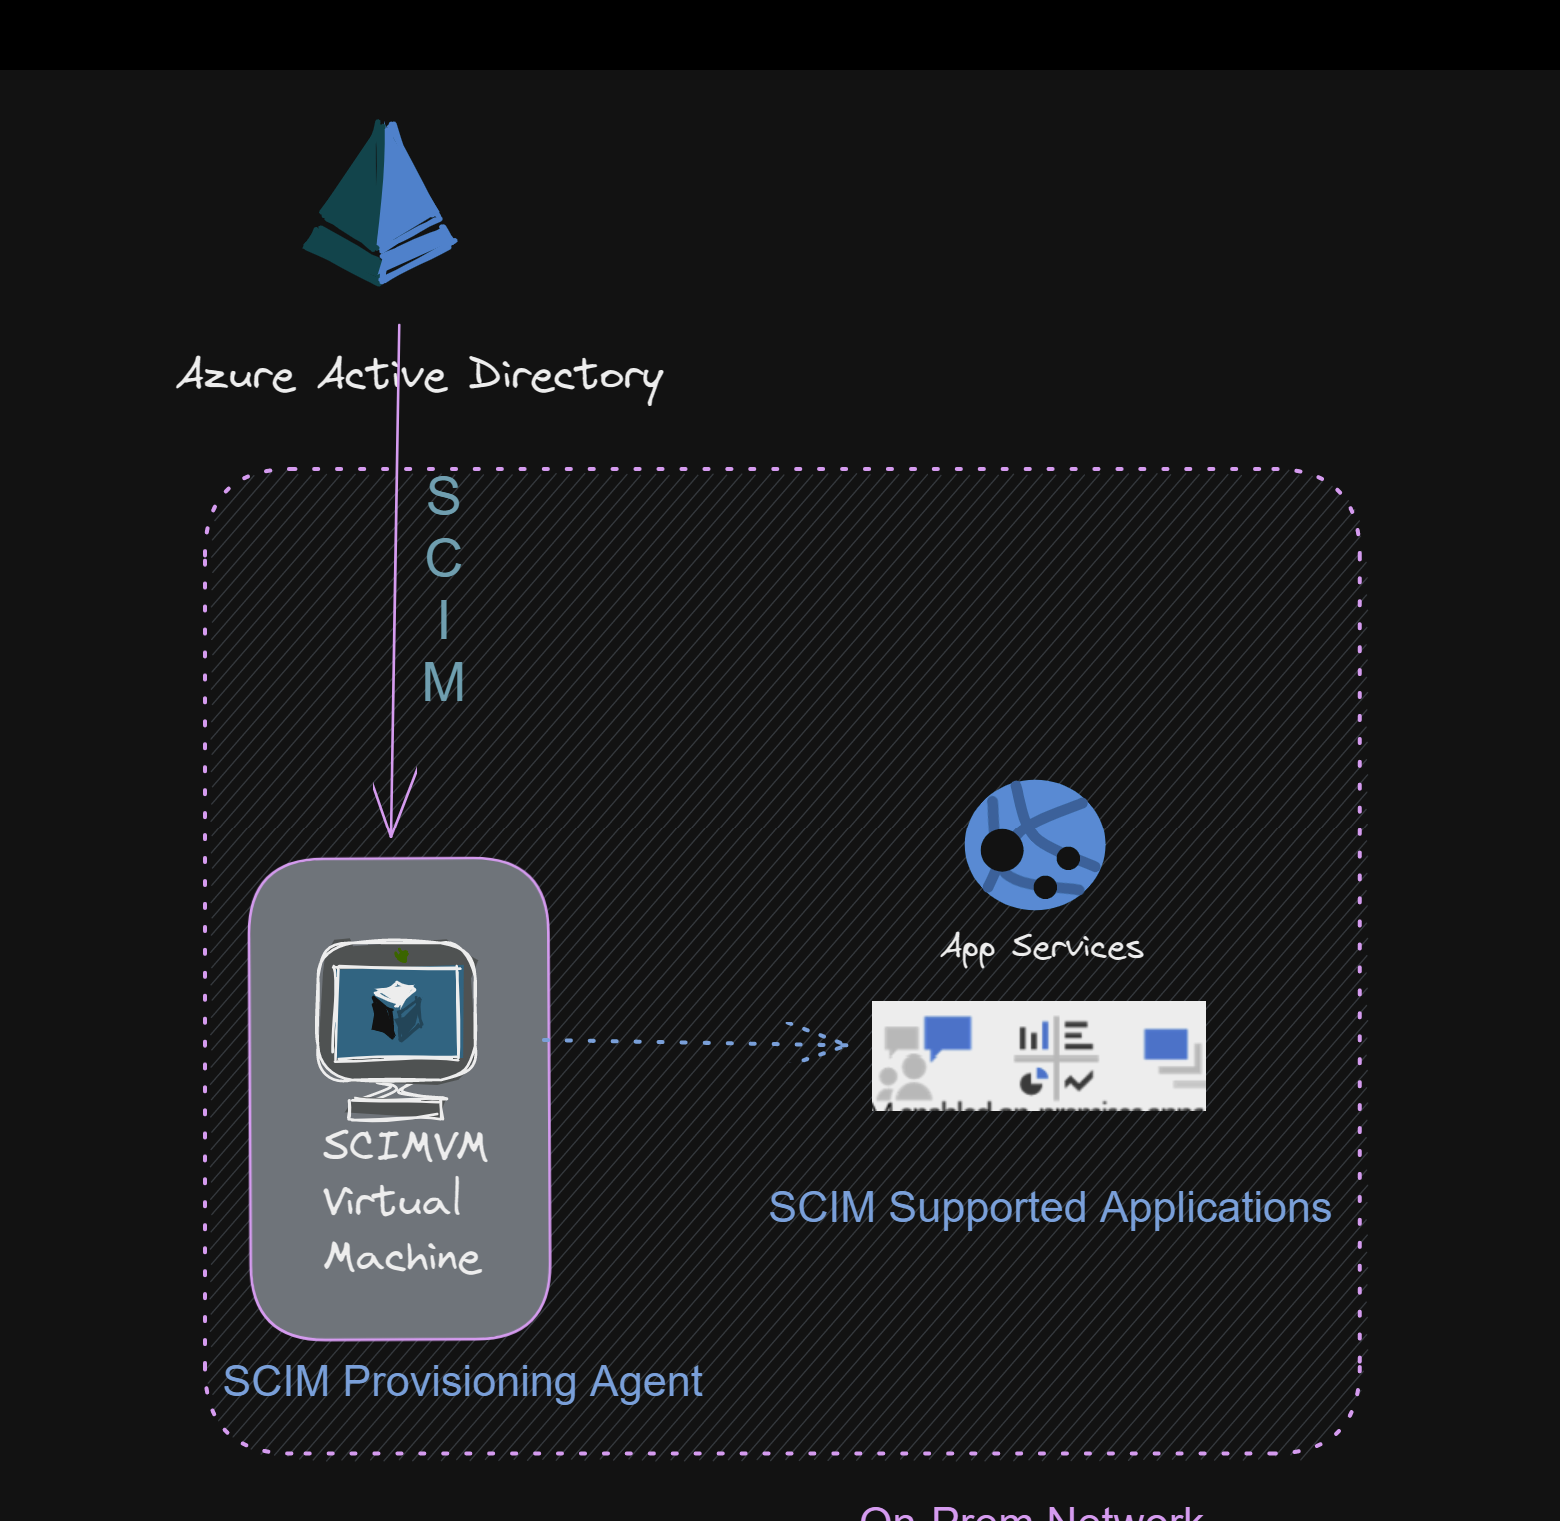
-
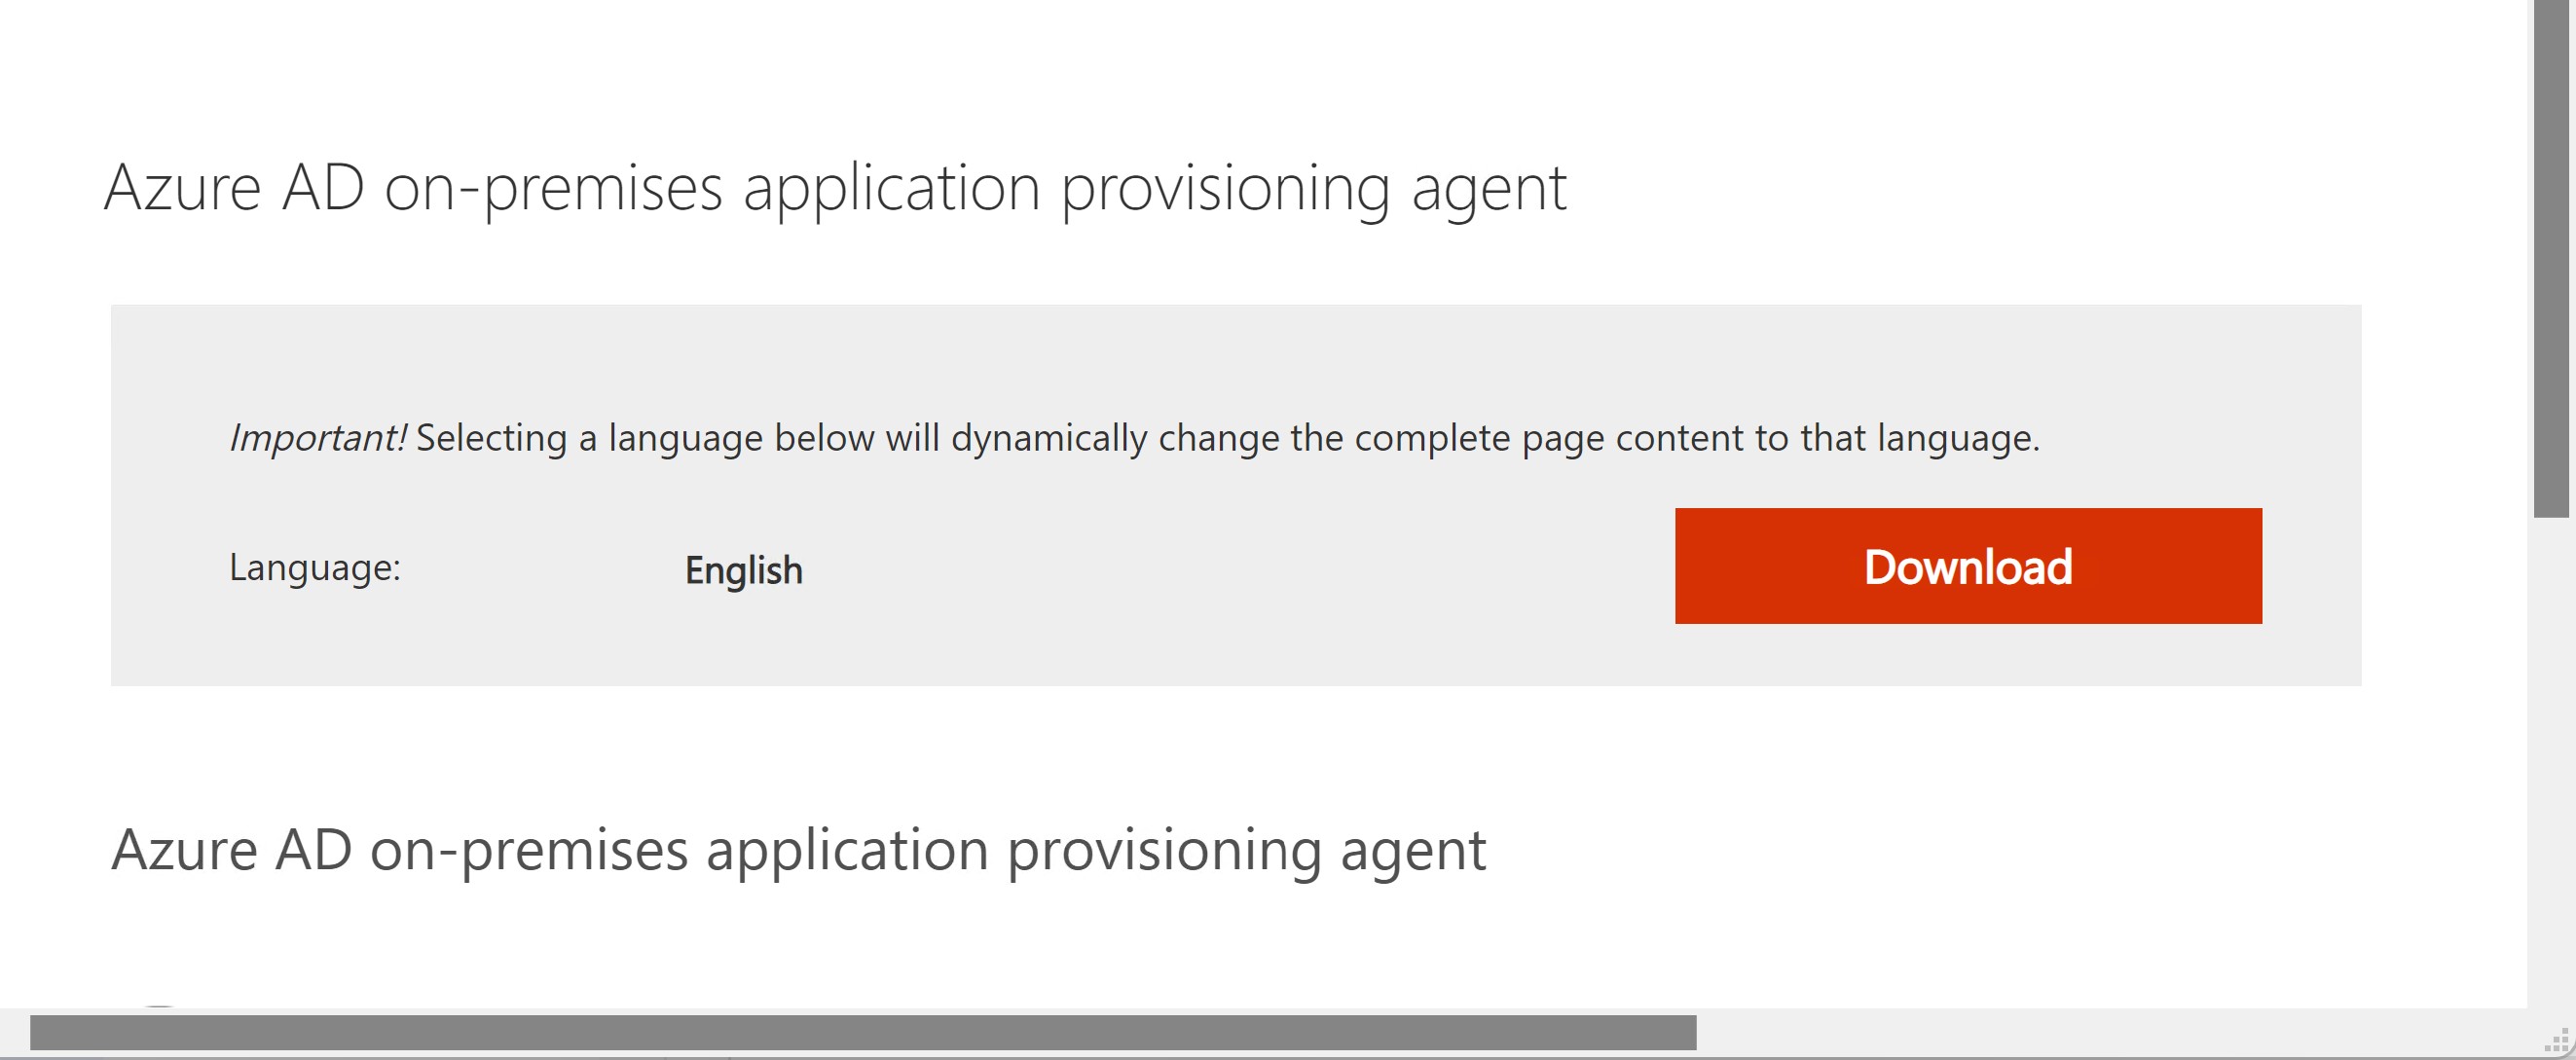
Download the provisioning agent and copy it onto the virtual machine or server that your SCIM application endpoint is hosted on.
-
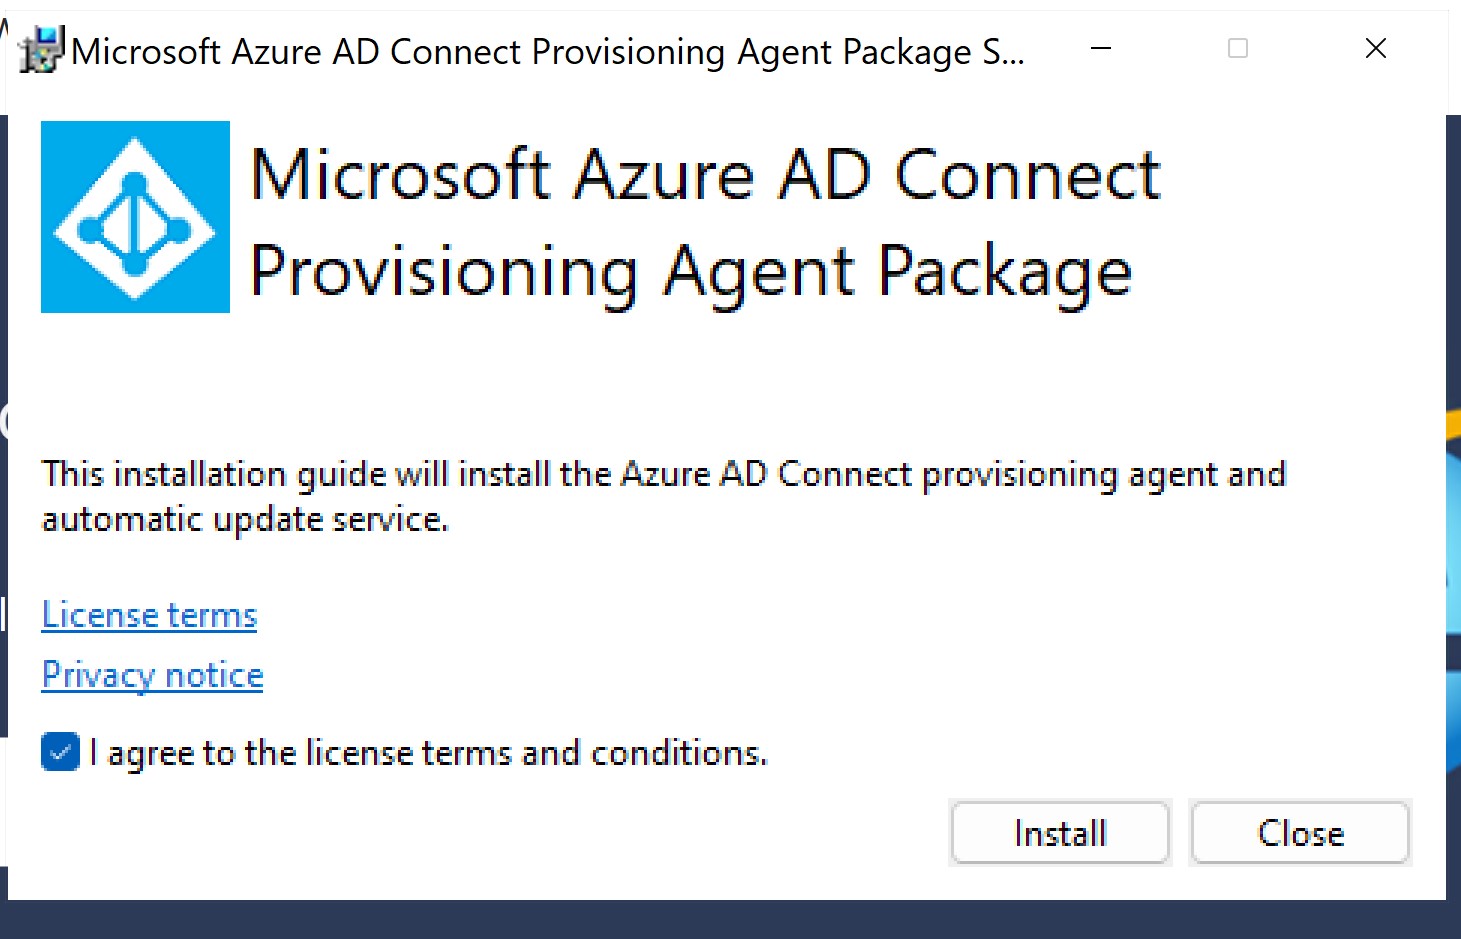
Run the provisioning agent installer, agree to the terms of service, and select Install.
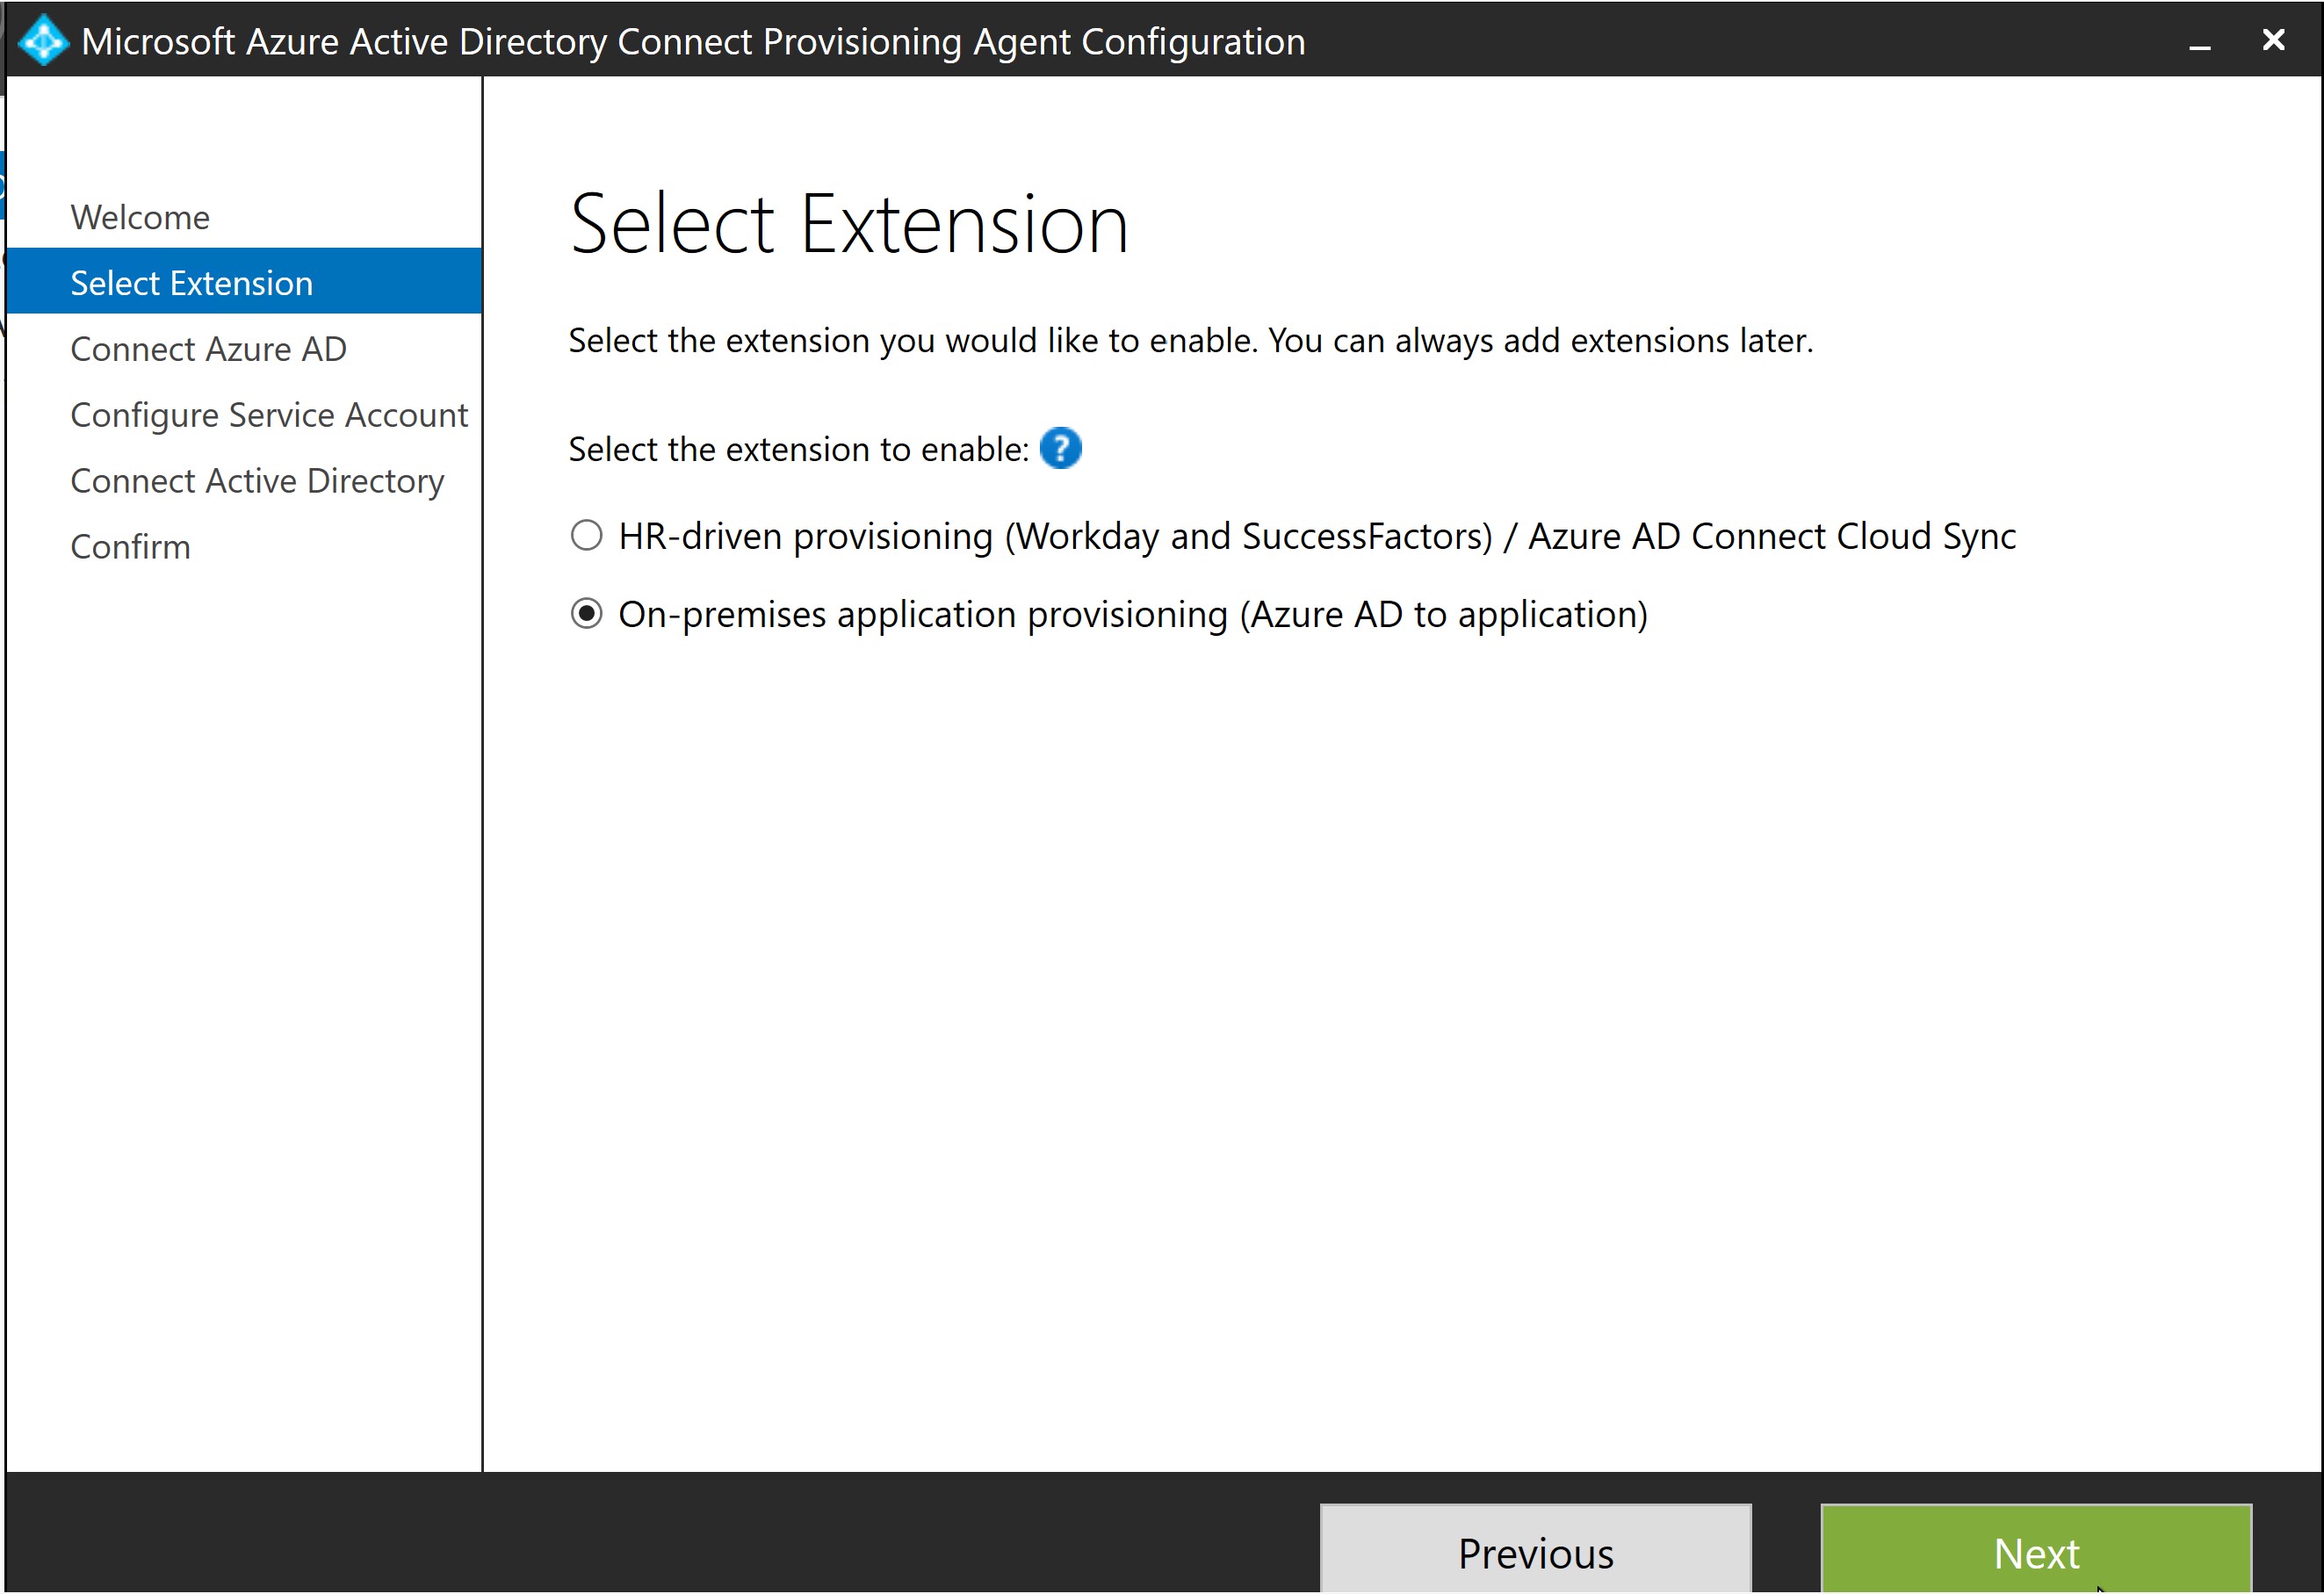
- Once installed, locate and launch the AAD Connect Provisioning Agent wizard, and when prompted for an extensions select On-premises provisioning.
- For the agent to register itself with your tenant, provide credentials for an Azure AD admin with Hybrid administrator or global administrator permissions.
- Select Confirm to confirm the installation was successful.
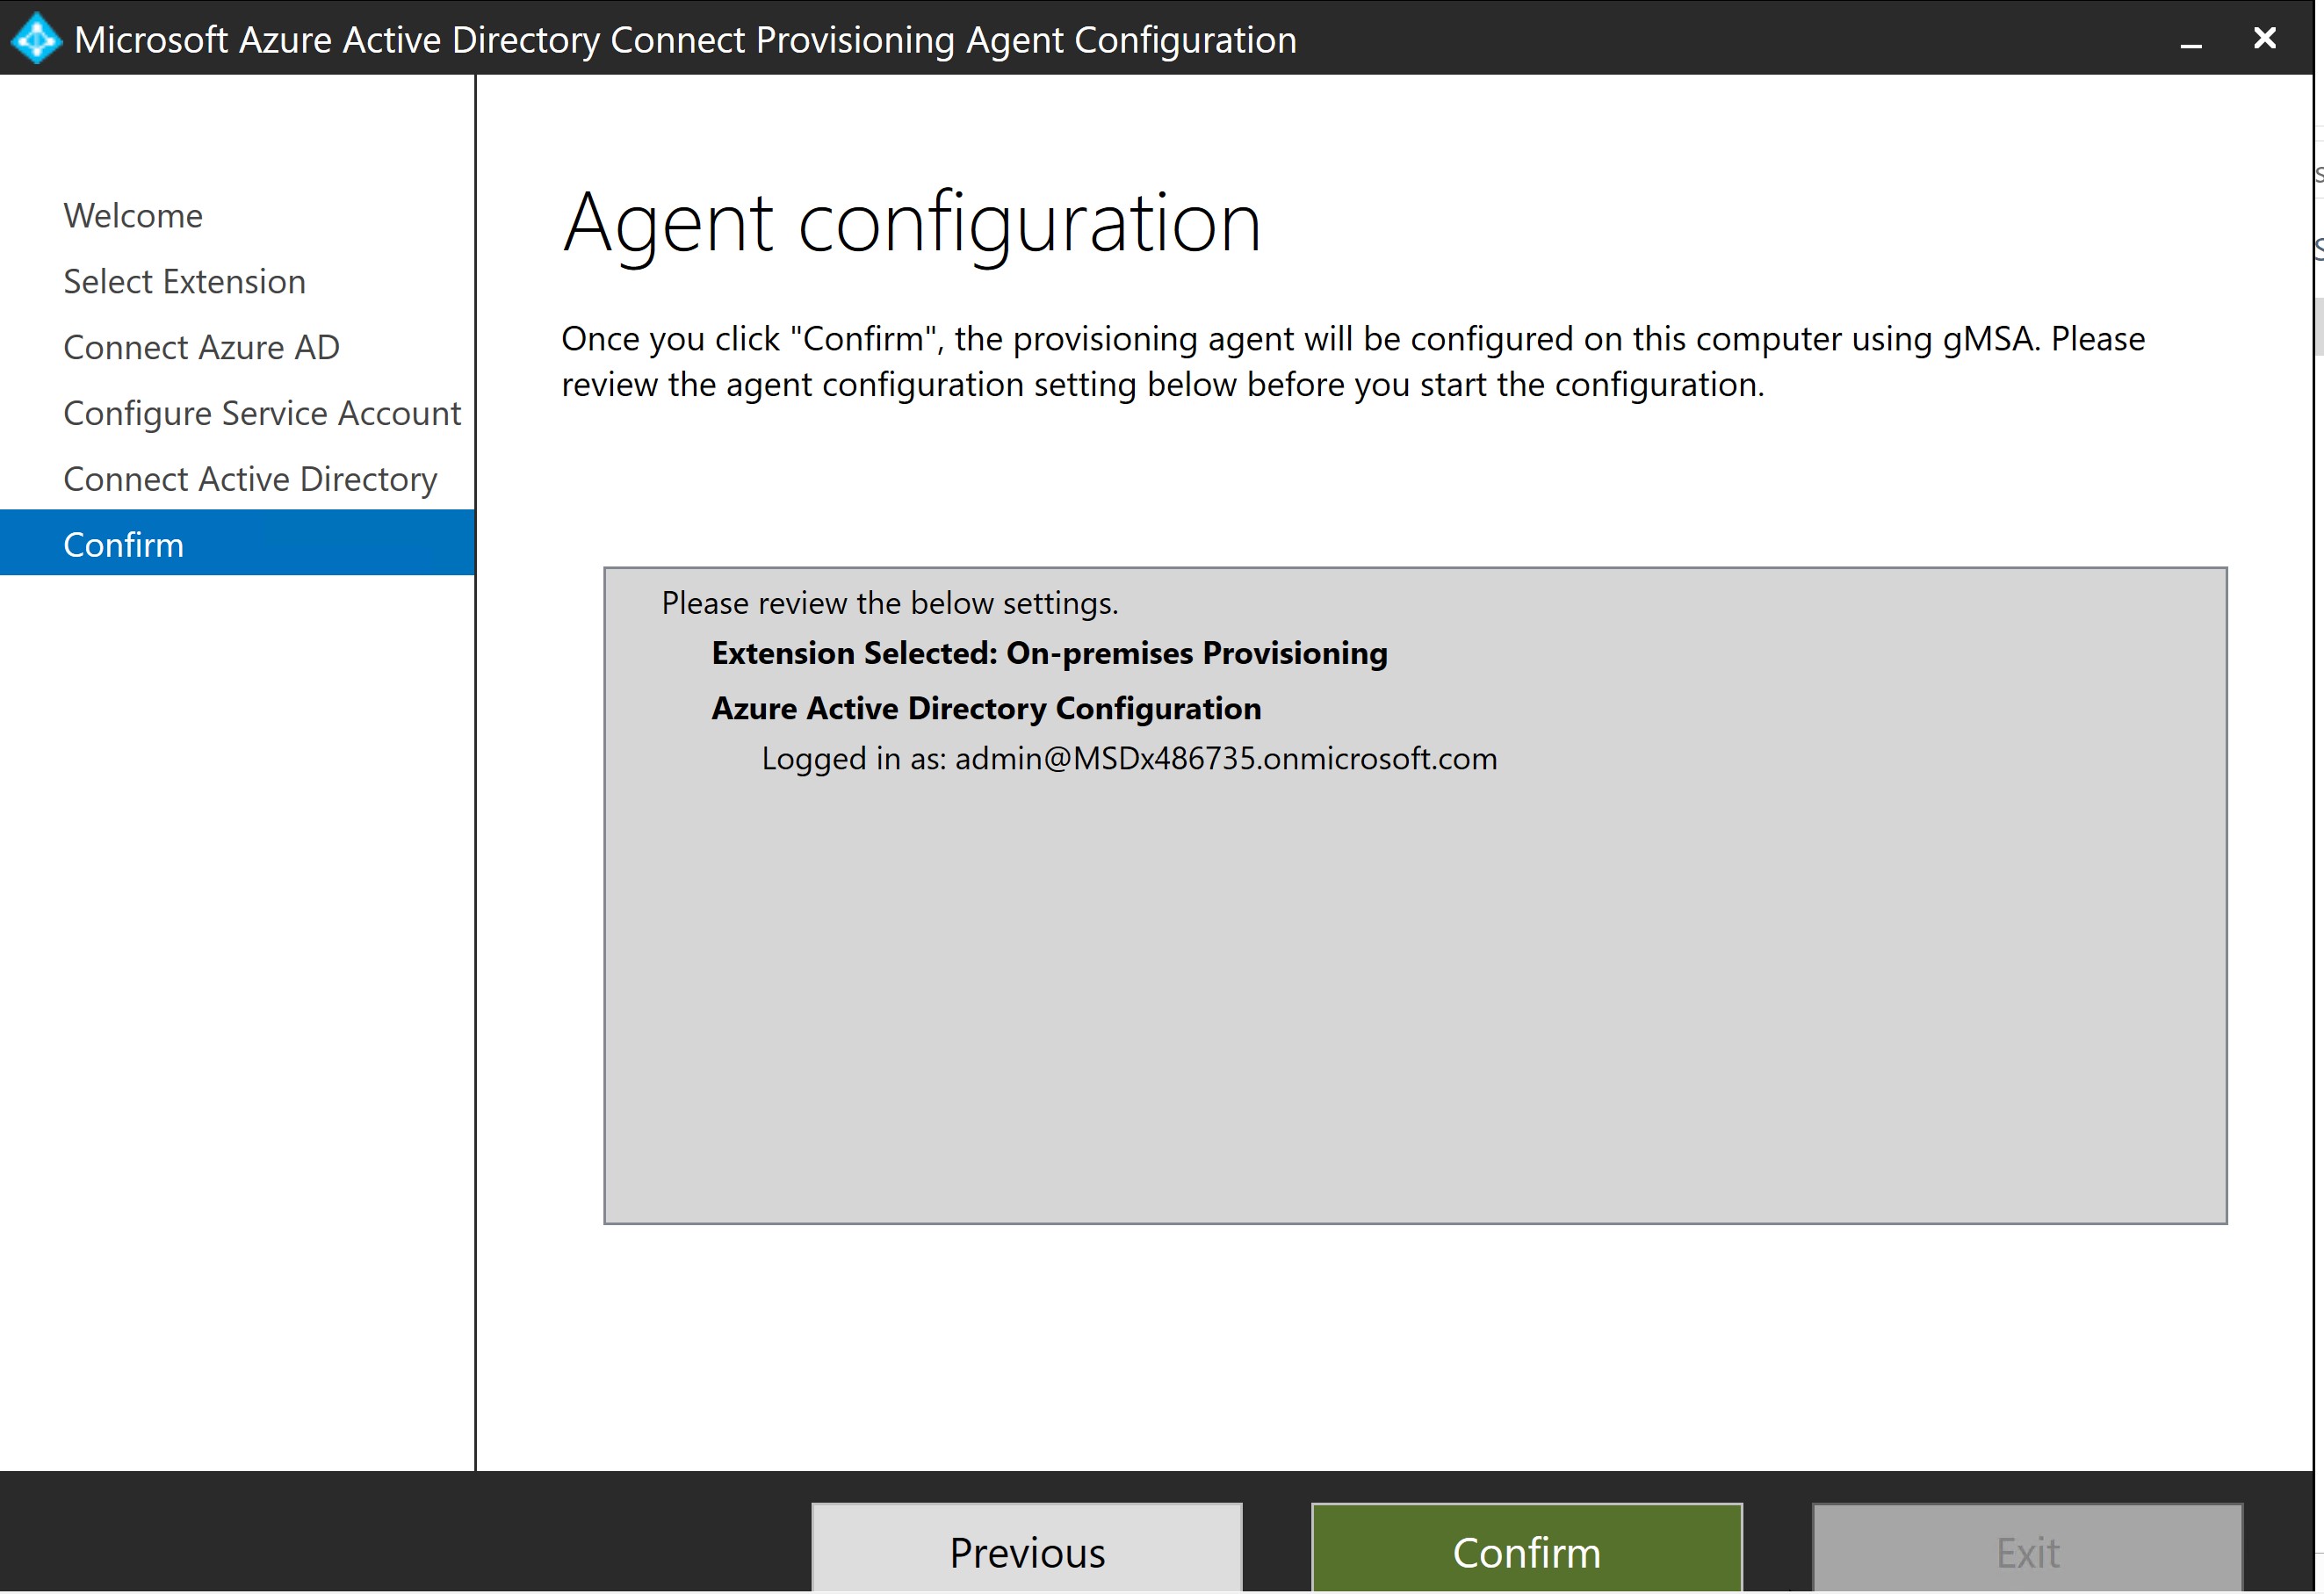
Provisioning to SCIM-enabled application
Once the agent is installed, no further configuration is necesary on-prem, and all provisioning configurations are then managed from the portal. Repeat the below steps for every on-premises application being provisioned via SCIM.
-
In the Azure portal navigate to the Enterprise applications and add the On-premises SCIM app from the gallery.
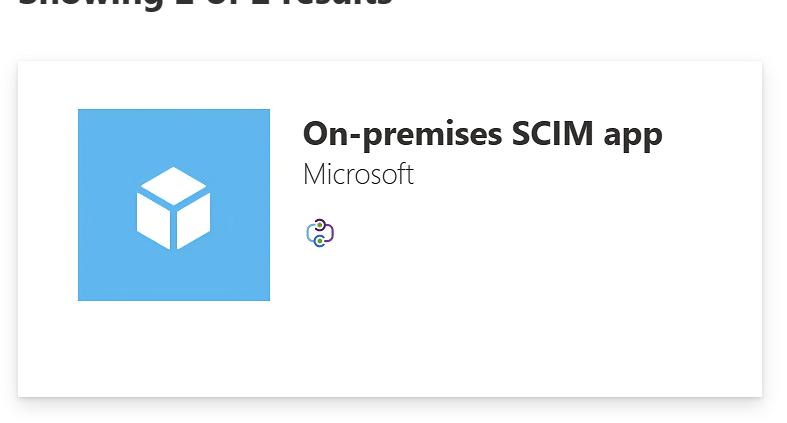
- From the left hand menu navigate to the Provisioning option and select Get started.
- Select Automatic from the dropdown list and expand the On-Premises Connectivity option.
-
Select the agent that you installed from the dropdown list and select Assign Agent(s).
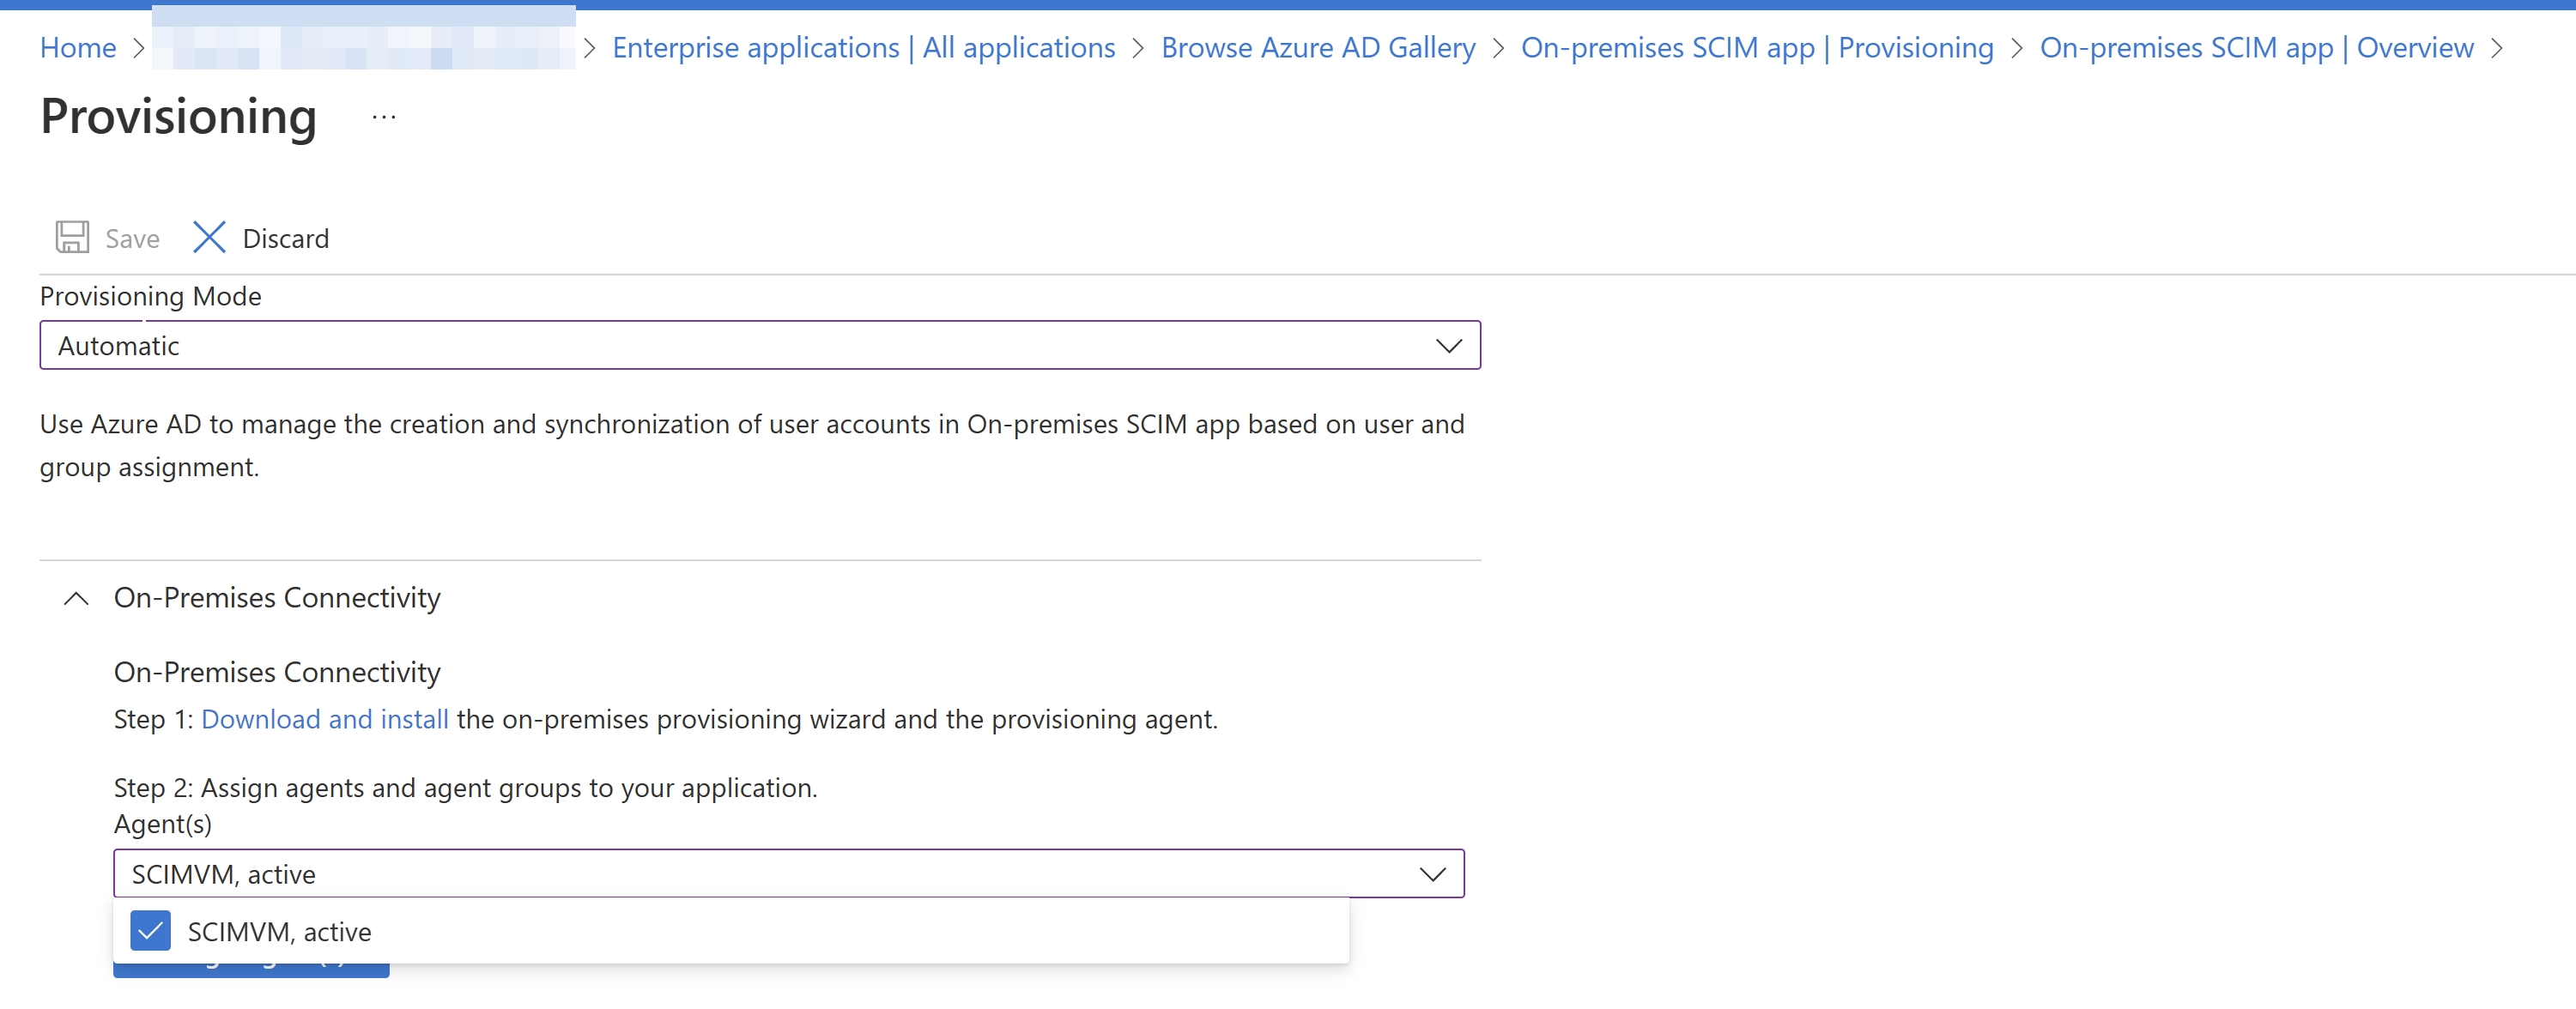
-
Now either wait 10 minutes or restart the Microsoft Azure AD Connect Provisioning Agent before proceeding to the next step & testing the connection.
-
In the Tenant URL field, provide the SCIM endpoint URL for your application. The URL is typically unique to each target application and must be resolveable by DNS. In our test application the Tenant URL field, enter the URL of the application’s SCIM endpoint. In the following format. https:/// Value for Server is the URL of the Web App hosted in Azure App Service. Value for Api is scim.
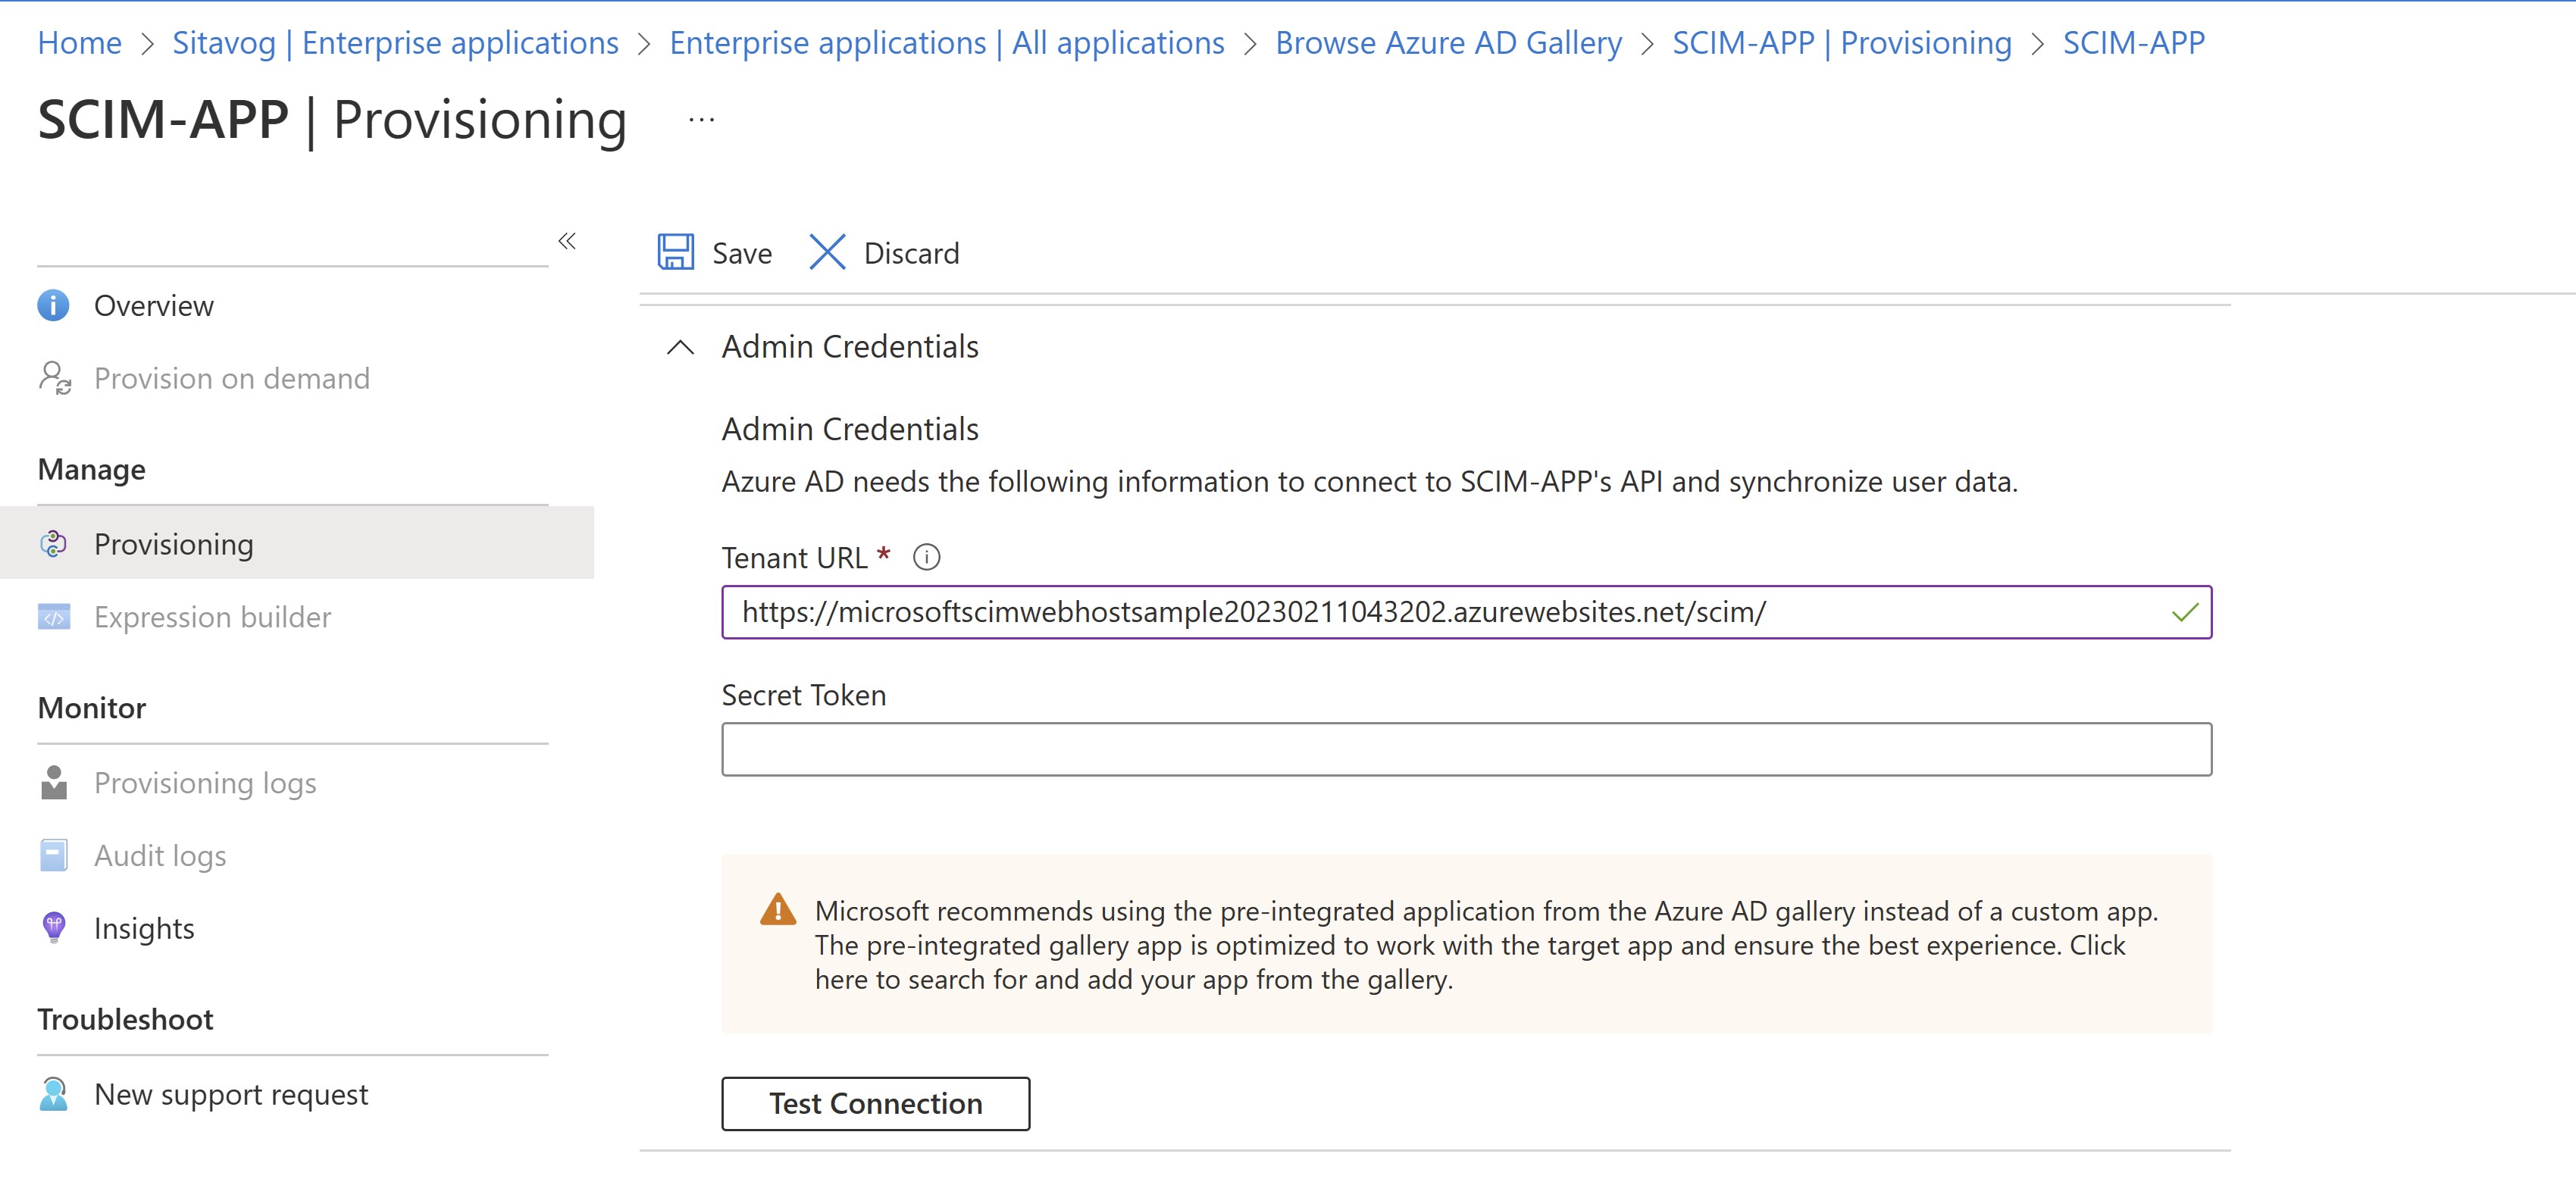
-
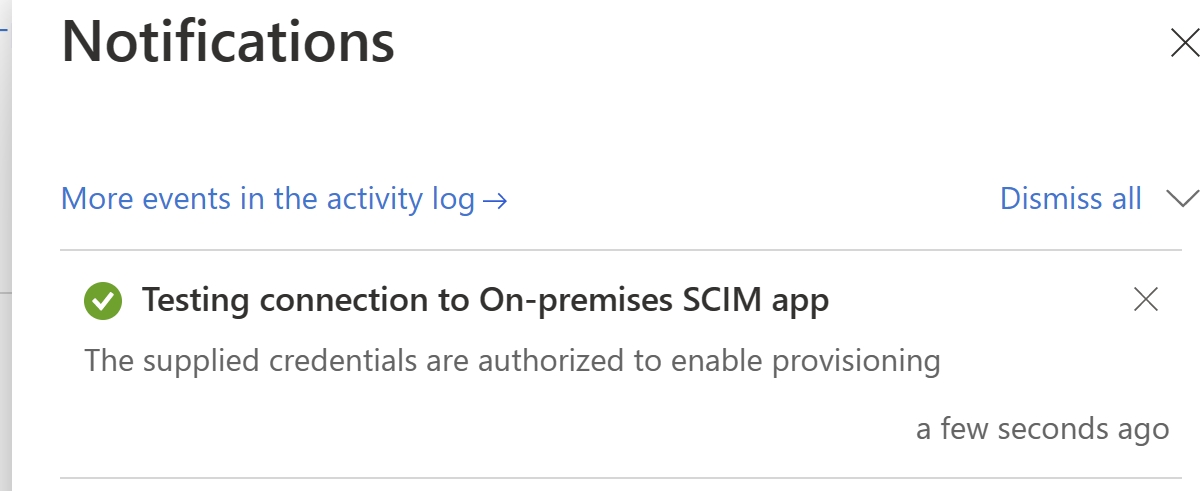
Select Test Connection, and save the credentials. The application SCIM endpoint must be actively listening for inbound provisioning requests, otherwise the test will fail. Use the steps here if you run into connectivity issues.
-
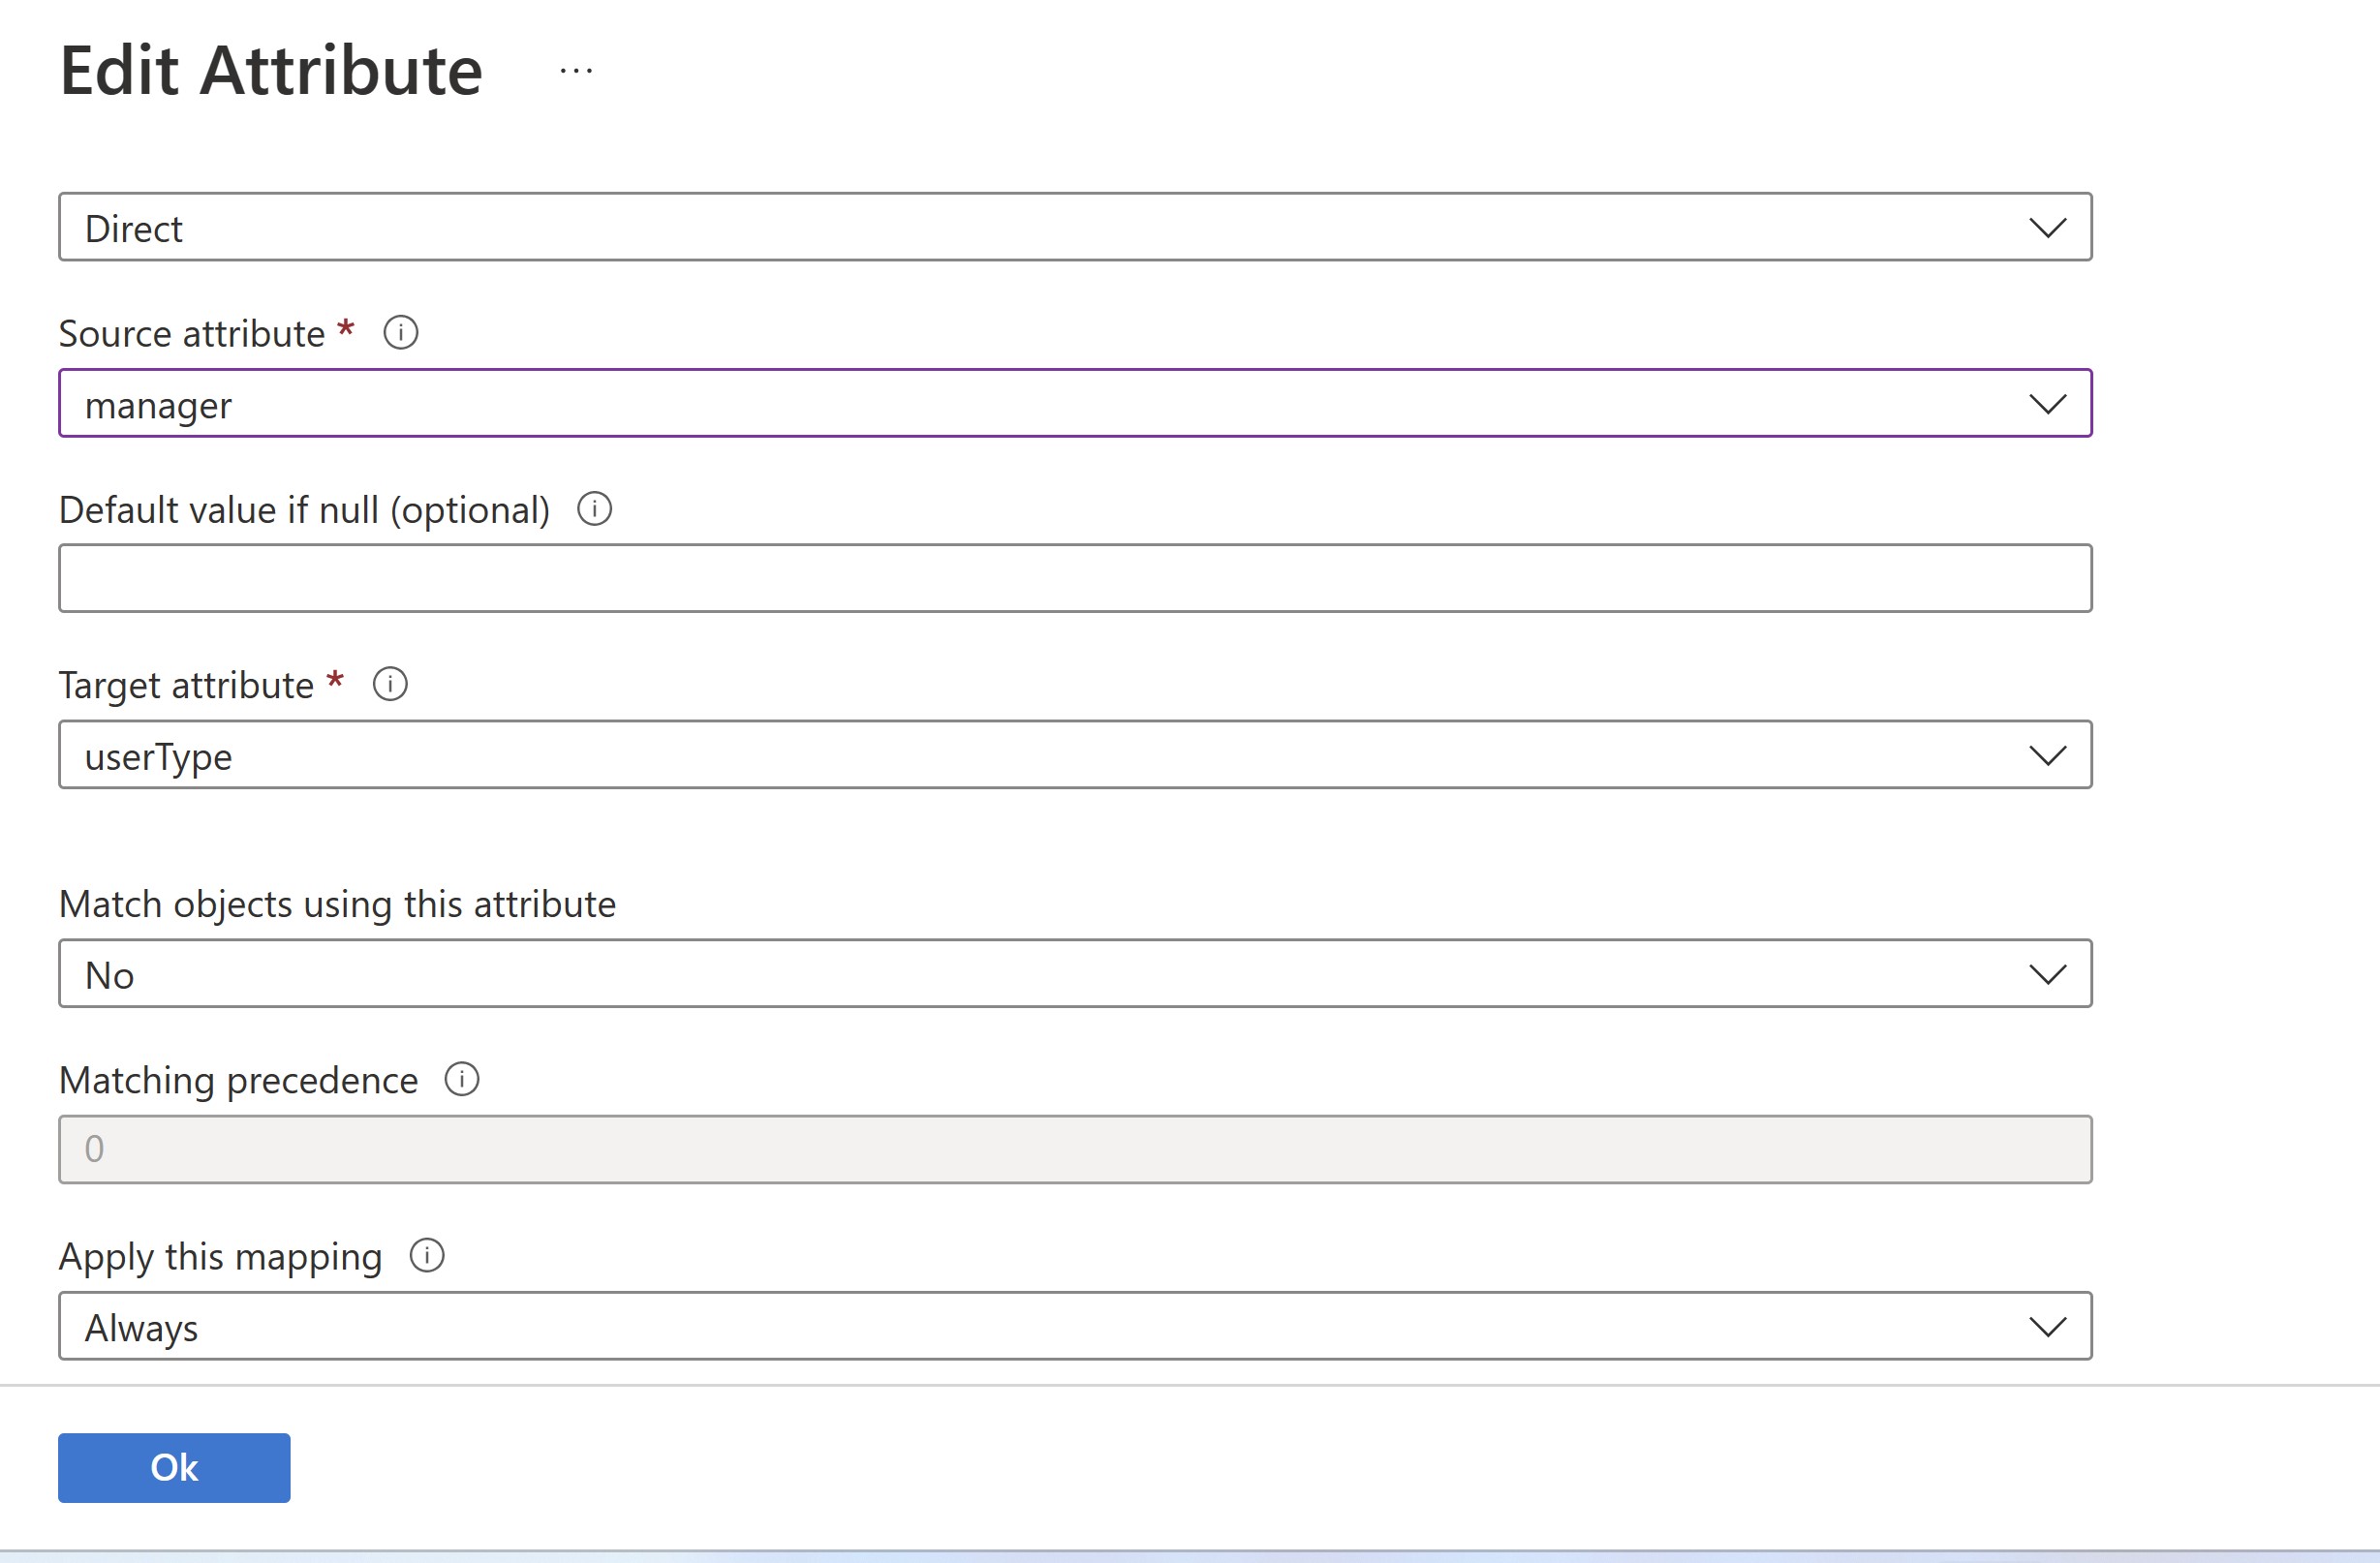
Configure any attribute mappings or scoping rules required for your application. We are going to add the following attribute mapping to distinguish between Extrernal user type and Internal employees.
- Toggle the Provisioning Status button On and Save the Configuration.
In the last part we will configure the following.
-
We will Create Access Package and automatic assignment policy to assign the application to new hires (provisioning).
-
Create multi-staged access review to remove access for users who no longer require access to the application.